Mkdocs 建站指南
Mkdocs 是一个使用 python 编写的静态博客生成软件,相比于 hugo,hexo等,更加满足我的需求。相对来说,Mkdocs会比前面二者更加简洁,上手难度应该也会更低一点。
Installation#
因为这是一个 python 应用,实际上可以直接通过 pip 工具就可以进行安装。
安装 Mkdocs,
| PowerShell | |
|---|---|
通过 pip 查看 Mkdocs 版本,
Commands#
使用 mkdocs -h 查看帮助信息后,可以看到 mkdocs 提供的命令行指令。
这里面需要用到的主要有,
mkdocs new [dir-name]- Create a new project. 创建新项目文件,生成项目的空白布局,其中mkdocs.yml是站点的配置文件,docs/目录是文档的根目录。
| PowerShell | |
|---|---|
-
mkdocs serve- Start the live-reloading docs server. 启动实时重载的文档服务器。 -
mkdocs build- Build the documentation site. 编译文档网站源码,储存在site/目录下,但是笔者推荐把site/目录写进.gitignore文件中,因为远程仓库的主分支实际上并不需要这一个文件夹,它的作用是可以帮助你离线查看网站。 -
mkdocs gh-deploy- Deploy your documentation to GitHub Pages. 部署你的文档到 GitHub Pages 中。此处gh-deploy指令的作用是执行编译,并将编译后的结果 commit 到仓库的gh-deploy分支中。这也是主分支并不需要向远程仓库提交site/folder 的原因。
Get Start#
使用 mkdocs new 指令创建项目并进入项目地址,
| PowerShell | |
|---|---|
??? 我推荐使用 python 的 virtual environment 功能做到环境的隔离,方便排查包括依赖版本之类的问题,详细内容可以查看 Python-venv,
| PowerShell | |
|---|---|
当然,如果使用了,记得把 /venv 加到 .gitignore 里。
跑起来看一眼,
| PowerShell | |
|---|---|
进入本地 8000 端口查看,
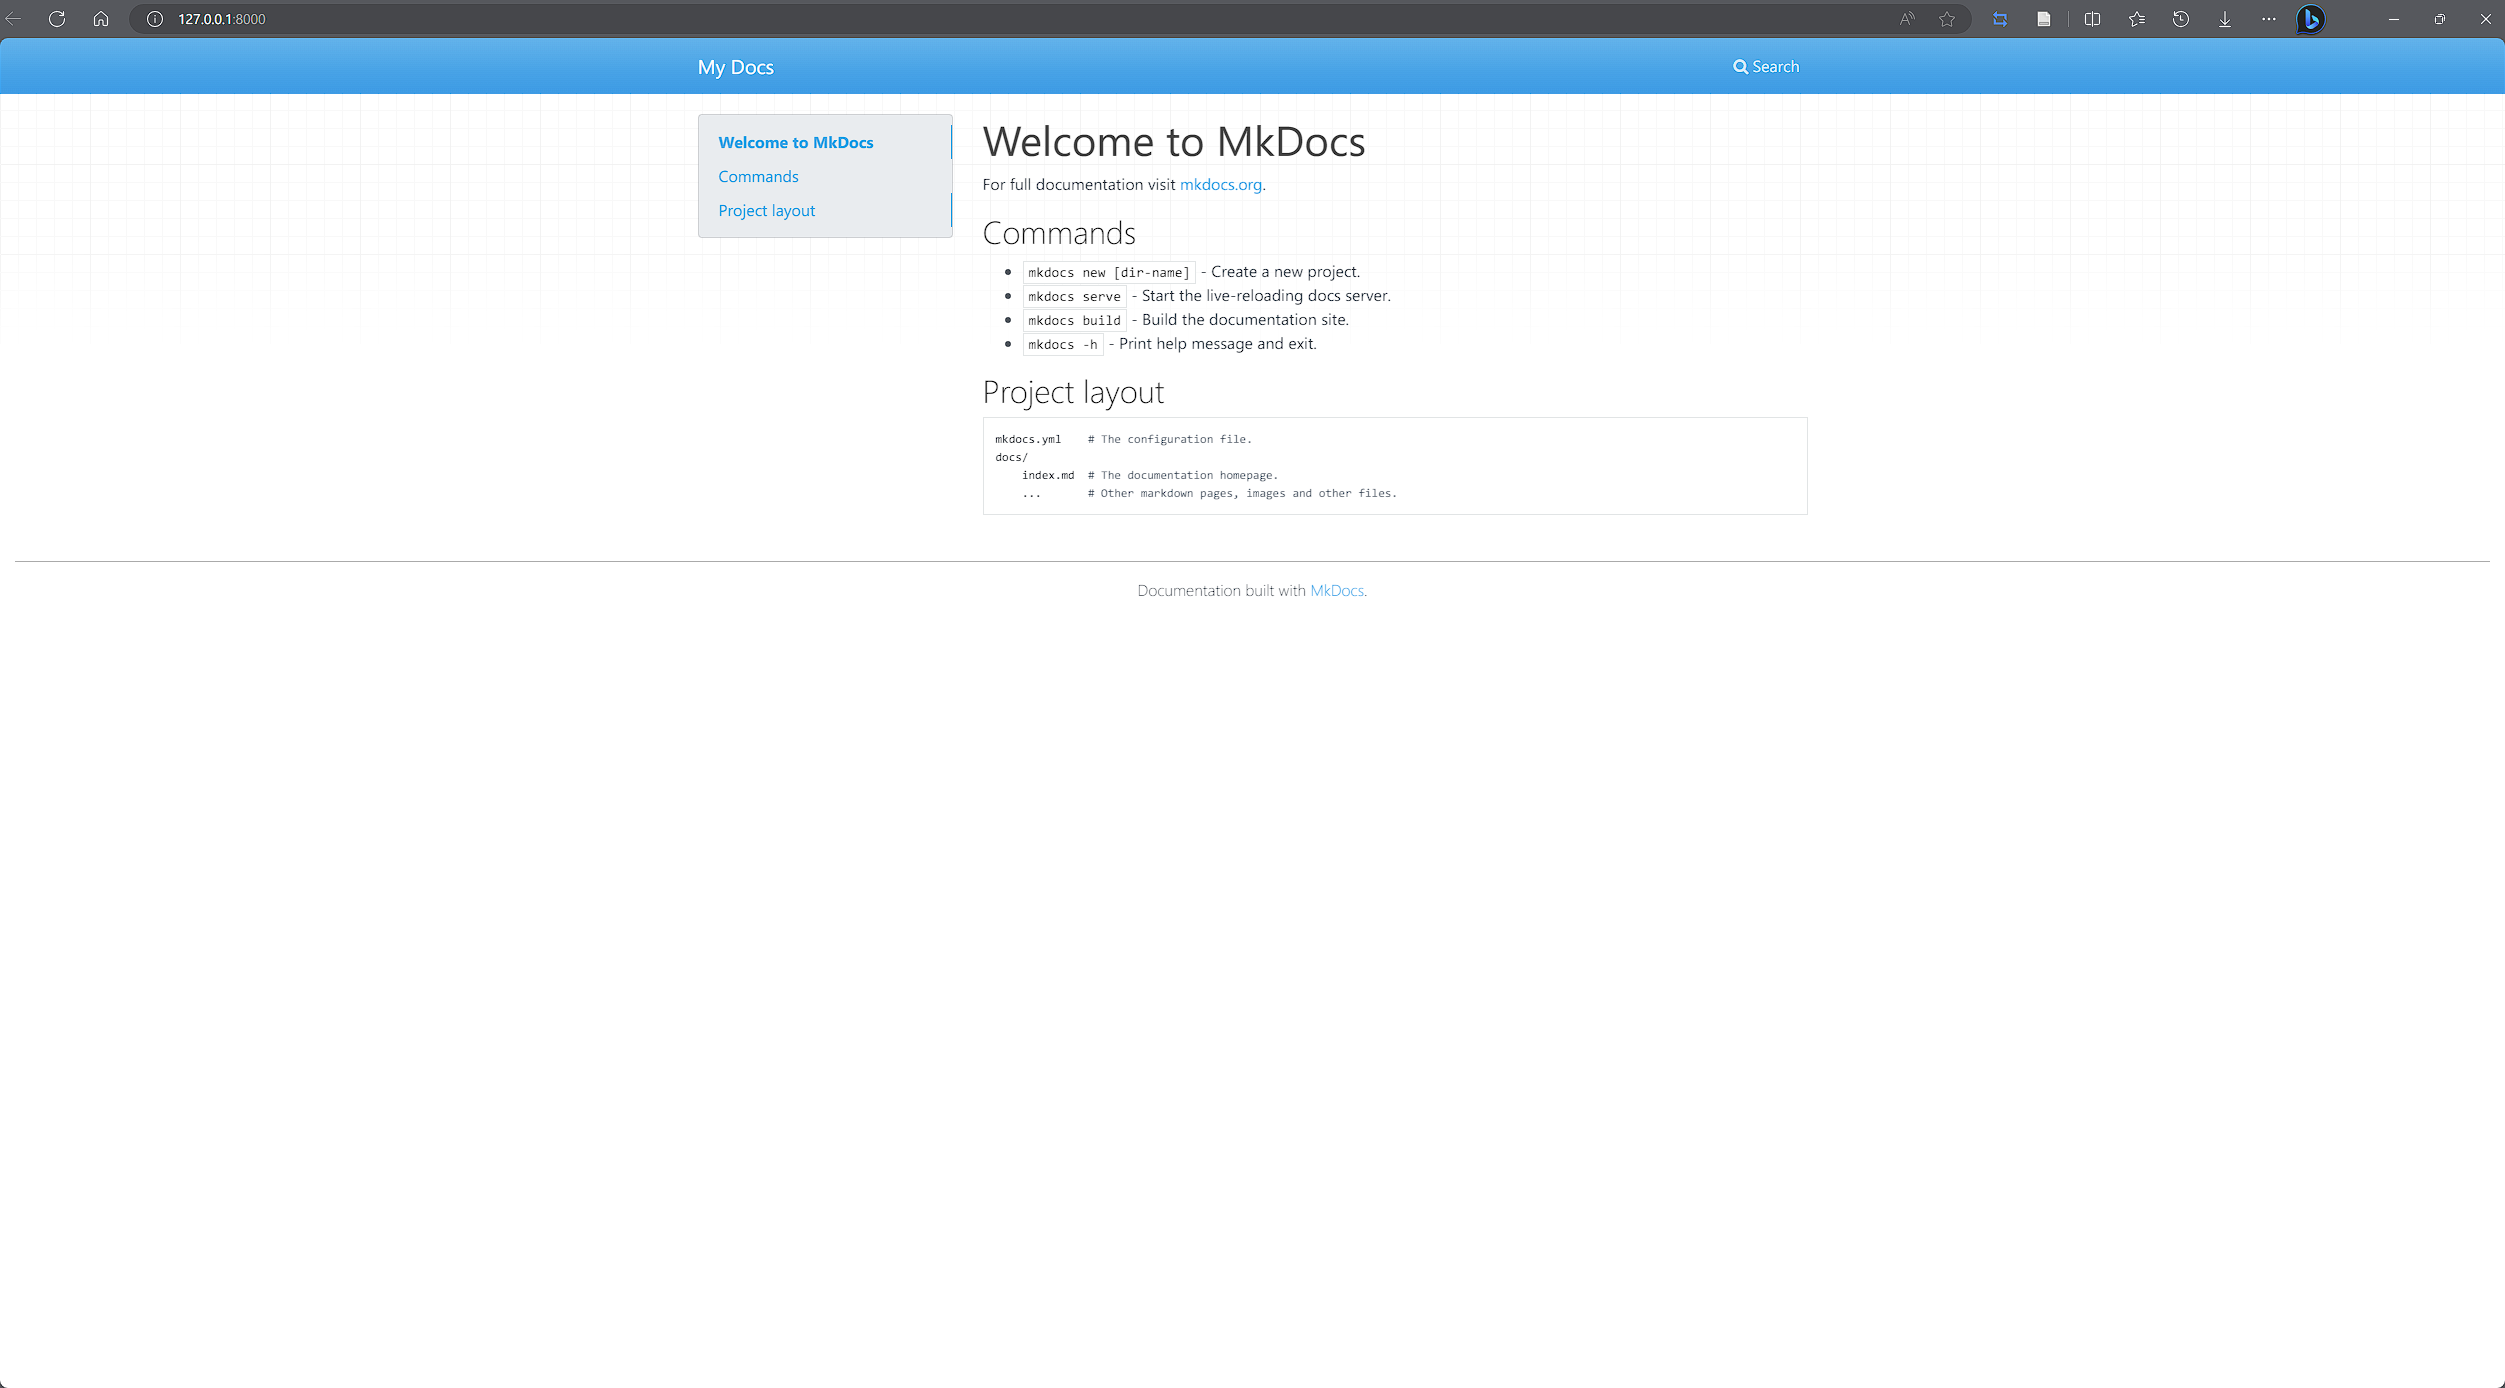
这是我们的站点就已经初始化成功了,但我们还需要把它部署作为一个在线服务使用。这里以 GitHub Pages 举例(毕竟很难找到提供静态网页显示的免费云服务了)
初始化 git 并添加远程仓库地址,
| Bash | |
|---|---|
add, commit, push 一气呵成,
然后使用 mkdocs gh-deploy 来创建编译后的结果分支,
| Bash | |
|---|---|
该指令编译文件为静态页面网站到 gh-deploy 分支并推送到远程仓库。现在就只需要开启远程仓库的 GitHub Page 功能并指定分支即可,具体操作如下,
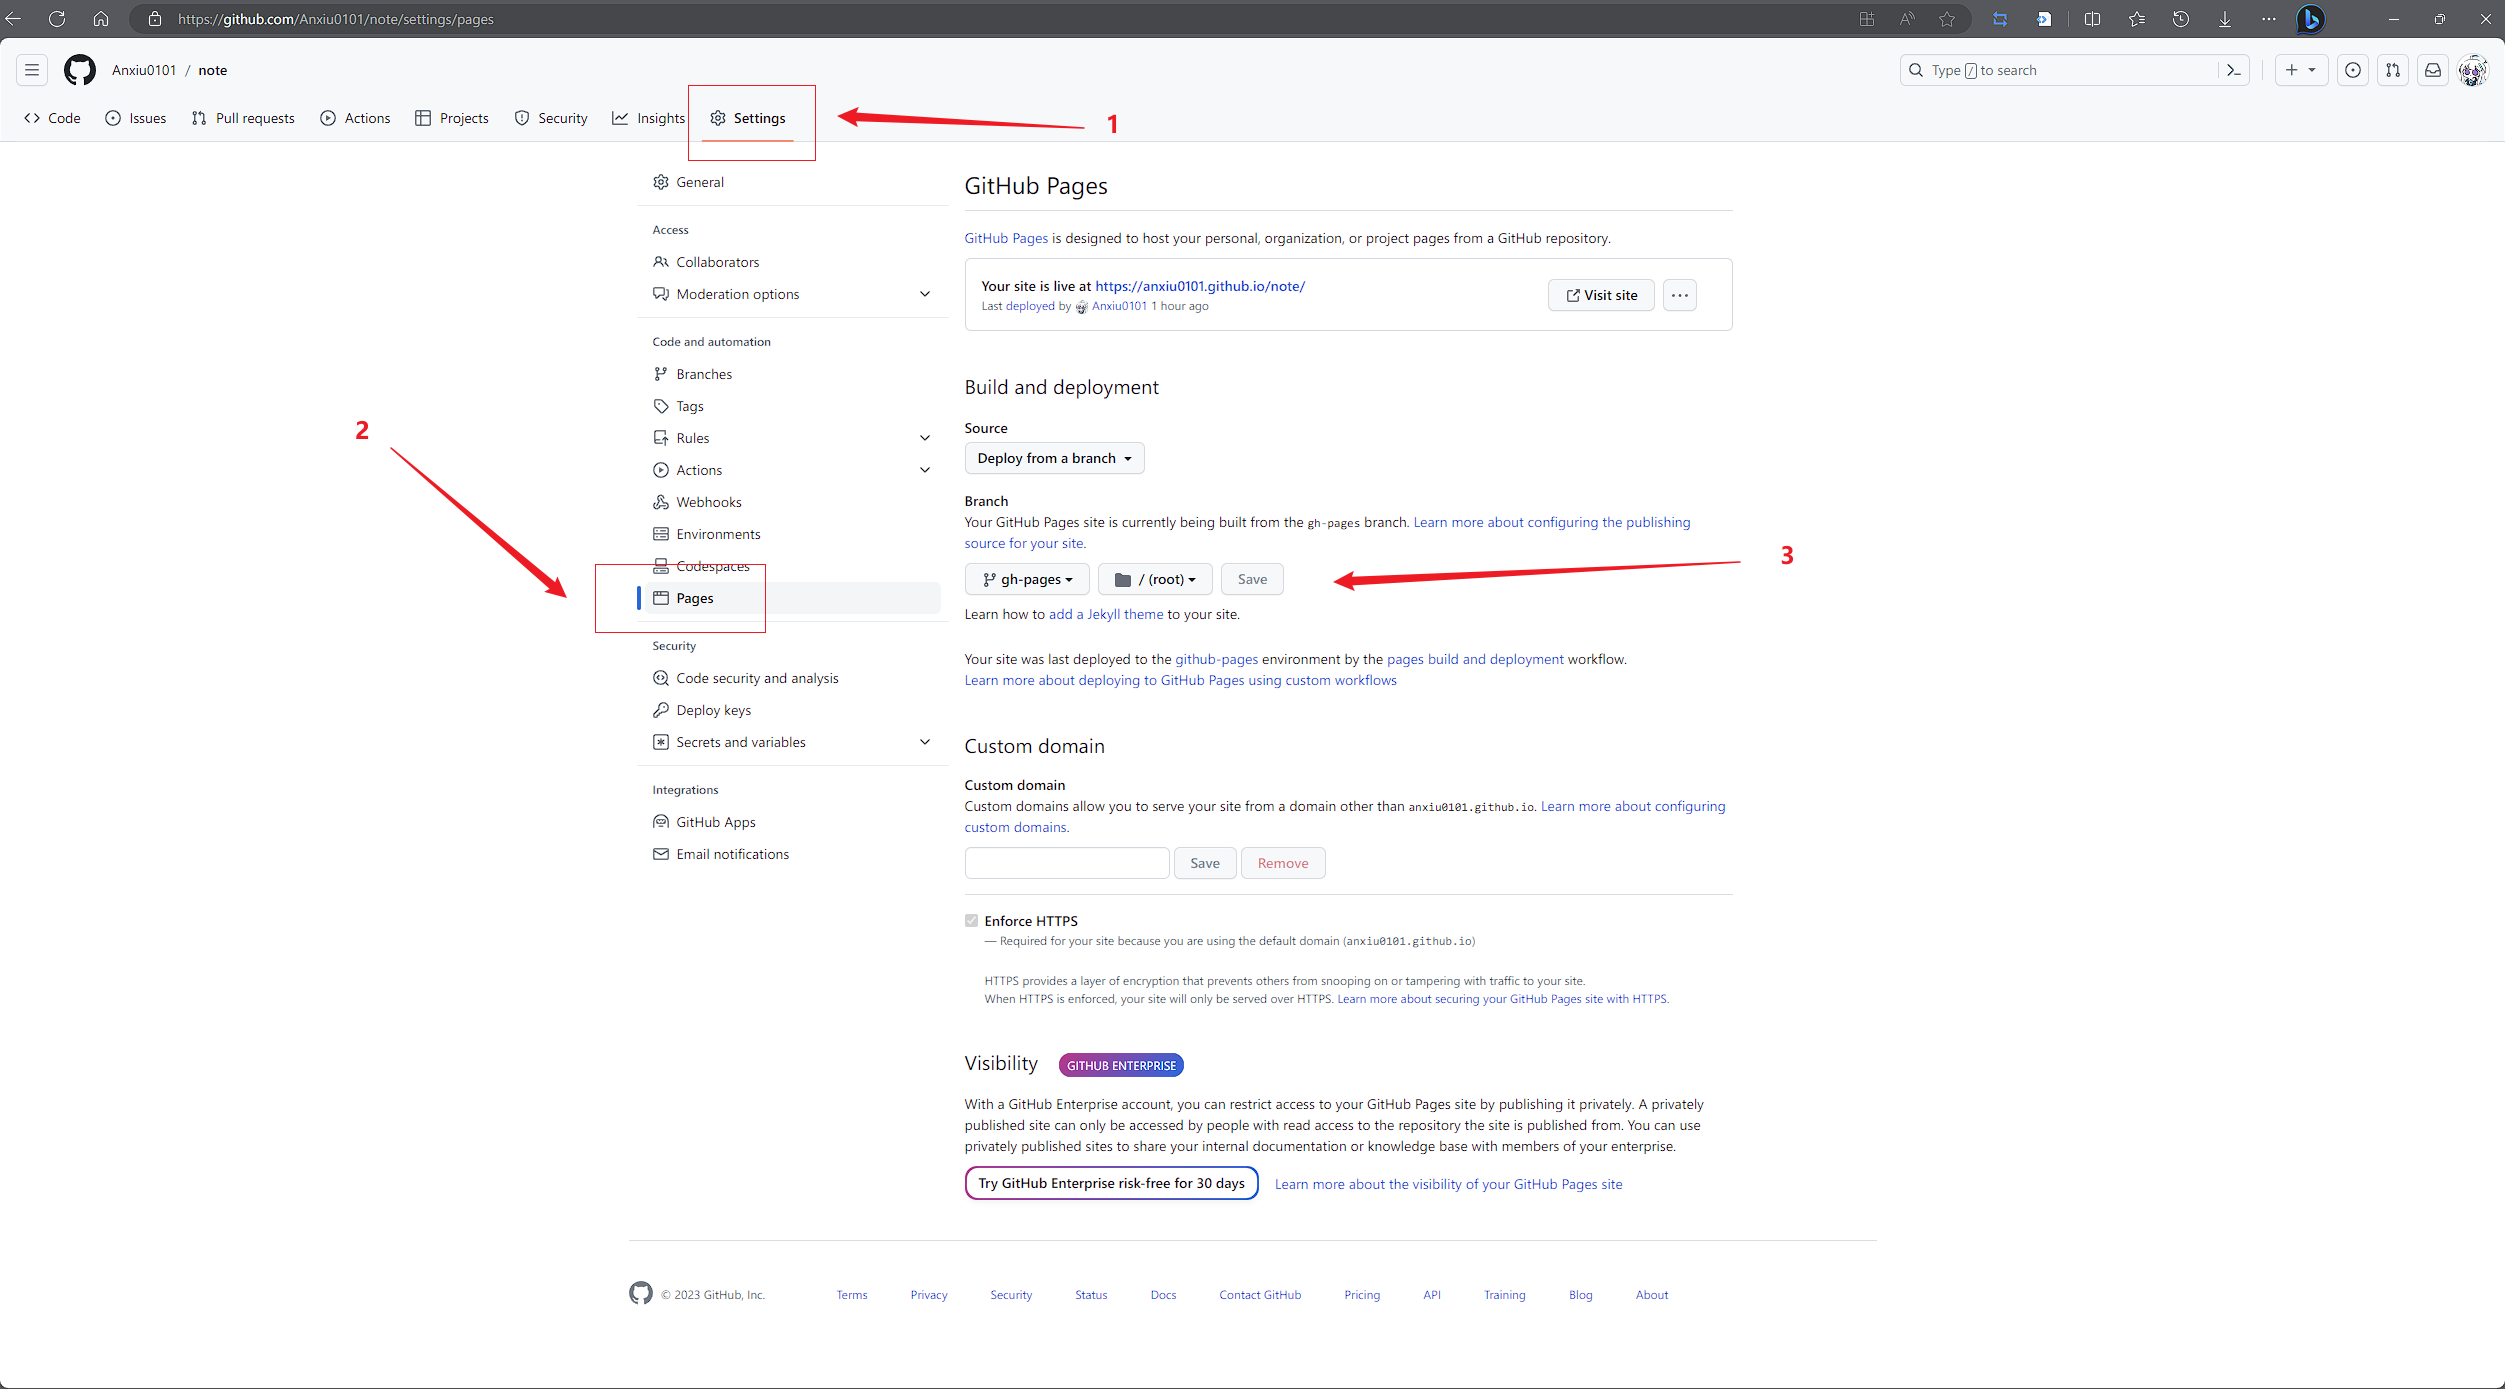
稍等片刻,刷新页面后点击 Visit site 按钮即可查看页面。
[!tip]
如果在这一步配置 GitHub Page 时使用了自己的域名,则应该在
/docs目录之下放一个CNAME文件,文件内容为你的域名即可,否则site/或者说编译后的结果分支gh-pages再次上传会将域名设置覆盖。
Theme & Configurations#
推荐 material 主题,虽然官网有些功能要求赞助后才能使用,但是社区版提供的功能已经足够了。
TODO fill with this part of content. mainly related to the
mkdocs.ymlfile and material t
| Bash | |
|---|---|
material 中 social plugin 的使用异常问题#
如果你开启了 material 中的一个名为 social 的内置插件,作用是为每个页面生成一张卡片,达成通过分享卡片的方式在社交媒体中宣传。可能遇到报错,报错部分信息如下,
| Markdown | |
|---|---|
这涉及到图片生成这个功能,而它需要两个相应的包 pillow 和 cairosvg 从而正常工作。官网相应部分提到了这个问题,解决方式就是直接执行如下指令,安装依赖包即可,
| Bash | |
|---|---|
i18n#
| Bash | |
|---|---|
Writing Tips#
遇到了一个很愚蠢的问题,下文中mkdocs 的文档内容描述了 mkdocs 设定文章标题的顺序,
Meta-Data#
元数据#
MkDocs包括支持YAML和MultiMarkdown两种样式的元数据(通常称为前端内容)。元数据由Markdown文档开头定义的一系列关键字和值组成,这些关键字和值在Python-Markdown处理之前从文档中删除。键/值对由MkDocs传递给页面模板。 因此,如果主题支持,则任何键的值都可以显示在页面上或用于控制页面呈现。有关可能支持哪些关键字的详细信息,请参阅相应的主题支持文档(如果有)。
除了在模板中显示信息之外,MkDocs还支持一些预定义的元数据键,这些键可以改变该特定页面的MkDoc的行为。支持以下键:
template:The template to use with the current page.
用于当前页面的模板。默认情况下,MkDocs使用主题的
main.html模板来呈现Markdown页面。您可以使用template元数据键为该特定页面定义不同的模板文件。模板文件必须在主题环境中定义的路径上可用。
title:用于文档的“标题”。MkDocs将尝试按以下方式确定文档的标题:
- 在文档的nav配置设置中定义的标题。
- 在文档的“title”元数据键中定义的标题。
- 文档正文第一行上的1级Markdown标题。
- 文档的文件名。
在找到页面的标题后,MkDoc不会继续检查上面列表中的任何其他来源。
mkdocs 对于中文的支持不完善,如果标题为中文或是携带影响识别的字符的情况下,mkdocs 将会无法识别一级标题然后以文档的文件名作为标题,并出现重复一级标题以及样式混乱的结果。
浏览了一些讨论,我最终决定将所有的文章一级标题删除,修改为使用摘要作为开头的形式来规避这样的问题。
[!cite]
Plugins#
mkdocs-git-revision-date-localized-plugin (timvink.github.io)
MkDocs RSS Plugin (guts.github.io)
https://wohugb.github.io/pymdown-extensions/
https://juejin.cn/post/7273037222437208064
https://hellowac.github.io/mkdocs-docs-zh/user-guide/plugins/
https://github.com/Python-Markdown/markdown/wiki/Third-Party-Extensions
https://github.com/squidfunk/mkdocs-material
Setting up social cards - Material for MkDocs (squidfunk.github.io)
TonyCrane/mkdocs-toolchain: My personal mkdocs toolchain (github.com)
TonyCrane/note: TonyCrane's Public Notebook (github.com)
https://www.cnblogs.com/yang877/p/5860798.html
Reference#
创建日期: September 24, 2023